Wednesday, July 31, 2013

Gonna Take Me a STAYcation

I've got a weeks STAYcation coming up. I'm taking a STAYcation for a few reasons...I don't feel like going anywhere, and I really want to get some projects done at the house (you're surprised, right?). So, this post is dedicated to keeping me on track, to get those projects out of the way.

One of the main goals is to put the basement together as a functional living space. I've had tenants down there before, and I'm thinking of having one again, to bring in some extra income. I have a friend who rents out her multiple properties, furnished. I've rented my second bedroom to two different tenant's, as furnished, but I've never rented the basement furnished. It's set up as a separate apartment...almost. It's got a separate entrance, living room, bedroom, full bath. Where I would put a kitchen...I have the laundry area. I do have a 10 cubic foot fridge down there already, but not a stove and sink (other than the bathroom sink). I can totally do a small but functional kitchen down there...but I don't really have a good place to put MY laundry stuff. It's okay for a Tenant to go to the laundromat, but it's not okay for me to do that.

So what does "putting the basement together" entail? A whole friggen lot!

  • Re-hang stapled ceiling tiles that were removed when my water supply lines were replaced
  • Clean Carpet
  • Replace Vinyl floor in Bathroom and Laundry Area
  • Kilz 1 living room wall and bedroom closet
  • Paint entire basement
  • Make curtains for bedroom
  • Clean shower stall
  • Clean behind laundry area
  • Set up bed
  • Move remainder of fabric into craft room
  • Move ebay shipping materials to craft room
  • Move building materials to closet
  • Put mirror on Vanity
  • Hang Shelves

And then there's the Craft Room. In there I want to:

  • Create a dry erase/tack board
  • Finish all half done ebay sewing projects
  • Paint and hang picture frames
  • Create Magnetic Jewelry Finding Board
  • Goo-Gone on containers for jewelry findings
  • Create vision board
  • Cover tall bookcase in black and white wrapping paper
  • Create Labels for clears drawers
  • Fabric wrap canisters (Thanks Barbara!)
  • Organize fabric Stash
  • Use up fleece stash
  • List fleece creations on eBay
  • Hang curtain
  • Touch up wall paint
  • Cover chair cushion

I'm going to try to get some of the smaller stuff done before hand. I would like to have a day or two of relaxation while I'm off. :) And of course, I have to do a little shopping in order to not have to run out to get stuff in the middle of projects. Shopping list, so far, includes:

  • Lowes-Kilz 1 Quart
  • Lowes-Yellow Paint-1 gallon
  • Ollies-Vinyl Wood Plank Flooring-4 cases
  • Walmart-Curtain rods-3

All of the above is on top of a general cleaning of the entire house. What "projects" do you have on your to-do list?

Sunday, July 7, 2013

Putting My Feet Up

I think I may be a little weird in the fact I like to crochet...on my leg. I usually do granny squares. Once I get past the 4th round, I lay the square down on my leg, and start going from there. That being said, I need something to put my feet on, in the craft room, to be able to crochet on my leg. And hey, maybe I just like to put my legs up while I'm watching tv ;)

I just happen to have an ottoman that went with 2 swivel rockers that have long since been gone from the house. Why, you ask? Well...my wonderful Fat Cat was a scratch-er. He tore them up. Sigh. Anyway, they're gone, and he is too now. Guess which one I miss more. Though I would love to have a fantastically decorated house, Fat Cat (not his real name) wanted to put his special touch on anything and everything I brought into the house. His sister (yes, they had the same Mom. Different litters.) Black Cat (not her real name) is MUCH less of a scratch-er. You'll see the only damage she's done, a little further into this post.

Here's the ottoman in it's natural state. Fat Cat did a number on the corners. The original fabric just acted like a brush for his hair. It was all over the thing. I could clean it off, and the next day it was covered again. 


Black Cat decided she would oversee the work I did that day. Poor thing...that white on her stomach...she licks her hair off her belly. I'm at the end of her food, and I'm going to try a different one. I think maybe she's allergic to it? When Fat Cat went on a diet, she did too. I don't remember her belly being bare before they were started on this food.


I originally thought I would just do a slip cover, so I cut off the extra fuzz and stringiness that was there, but quickly decided it all needed to go.


I pulled out the tools and got started. I'm going to call these pliers, but they aren't. What are they? Channel locks? Anywho, they were great in assisting me to remove the staples that held the fabric on. I pulled the skirt off first.


I then flipped it upside down and took off the cardboard. I don't know why they put cardboard on the thing to begin with. Maybe it's just to cover up the wood. Meh.


After the cardboard was removed (though it's still showing in the picture...) I had to take even MORE staples out of the darn thing!


Finally we're getting somewhere. Staples are removed, and I unscrewed the legs too. Just made it easier not to knock myself in the face. ;) After that, I just removed the fabric.


And this is what I'm left with. A wooden box, with a piece of padding on it.


I thought it needed a bit more cushioning, but have you ever been to the fabric store? Cushioning is is pretty darn expensive without a coupon, and lets face it. I didn't want to go out and shop. I used some batting I already had on hand. I wrapped it around the the rest of the box.


And now the magic happens! Oh look. The bottom right hand corner is Black Cats handy (paw-y) work in action. She f'd up my box spring. Sigh. I did replace the mattress because it was older than dirt. The box spring will eventually be replaced. I just covered it up with a rug. Seriously. I used the rug I had covering the living room chair. I laid out the fabric and put the ottoman on top of it.


Then I pulled up the corners and pinned them. I was careful not to pin the fabric to the batting. That would make it much more difficult to remove the fabric to sew it...dontcha think?


After the corners were pinned, I cut the excess fabric, and pinned the bottom hem.
  

Isn't she pretty? Oh hey, Black Cat came to help! I gently pulled the fabric off, and sewed it together.


It was barely in place for 2 minutes before Black Cat came to check it out.


I think she likes it.


What do you think?


Wanna See My Box? ;)

Well...it's really quite a few boxes, and they're all mine!

I'm cheap. Heh. "Provident" ;), so what's a provident girl to do when she wants to accessorize and organize her frugal craft room?

WHIP OUT THE GLUE GUN! Woot-Woot!

As you know, I previously purchased a bunch of fabric, specifically to use in the room. I've been inspired this past week, and I'm FINALLY getting some projects done! Ok, so here's the first one. Before...a plain old run of the mill paper box.


I guess I should probably show you the reason I'm doing the boxes, huh? So...I can't stand clutter. I don't get twitchy about it or anything, but I definitely "feel" better/calmer when things are in order. Can I tell you how much MORE it's pissing me off that I can't get this stupid picture below to center, than the actual clutter IN the picture?? ARRRGGHHH! I give up. :(


Alrighty then. Take a look at the first picture again. I have the paper box sitting on a strip of fabric. I could have done this as a covered basket kind of thing, but the purpose behind it is to cover stuff up, not so the inside can be seen. Got it? So add into that I get to get more pretty containers out of less fabric, it's a win for me. Ok, so tutorial time. It's really not hard. Cut the fabric about three inches wider than your container. The length is kind of up to you. I knew this was going to go against a wall, so I didn't cover the back of the box. I didn't use the glue gun on anything but the edges. I glued the two edges (with the big white expanse) first. Then I started on the bottom. Just fold the corners carefully. 


Speaking of careful...I burned the crap out of my finger because I wasn't paying attention and I put my finger right IN the hot glue. Grrrr. It blistered, and hurt like a bitch! Be careful with your glue gun. You could probably use something other than a hot glue gun to achieve the same effect. I thought about using double stick tape, but I didn't have any.


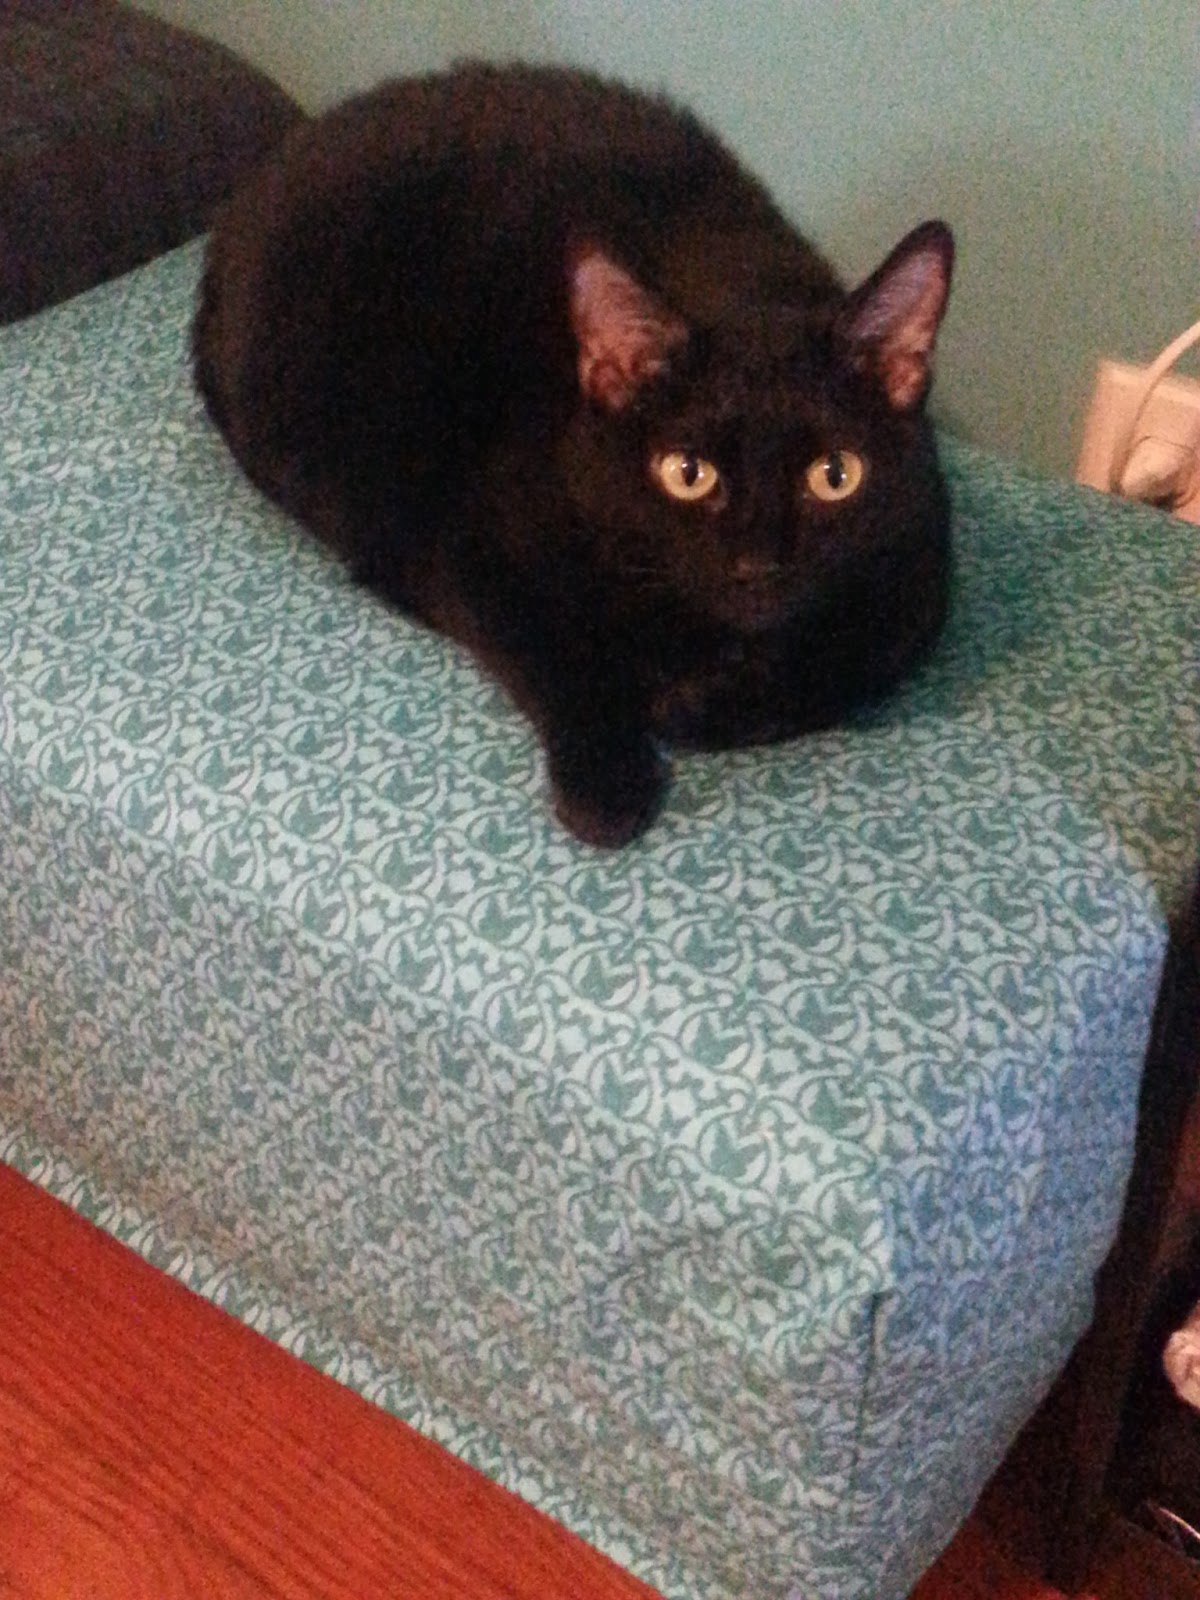
Doesn't that look nice? Flip the box over, and repeat the process. And we're on to the top. Pay no attention to my disgusting mattress. It's actually moved down into the basement as of yesterday. I'm super overdue for a new mattress. I won't even tell you how old this one is. But, my bed is kind of the only place I have on the second floor of my house to use as a cutting space. Again, you want to give yourself extra fabric so you have something to glue.


This is just like wrapping a present box top. I'm just using hot glue instead of tape, and fabric instead of paper. I've shown the before and after pictures to several people, and they asked if it was paper or fabric. I wish I could find pretty paper. It would probably be cheaper than the fabric. I'll have to keep an eye out for it.


And here's the finished product. I think it's pretty. What about you?


I liked it so much, I did it again! I used the same fabric for the top. It's the one fabric I found at the store that was the "right" color to accent with. Here's the plain old pattern box before I worked my magic on it. I've had this almost since I bought my house 10 years ago. Doesn't really fit the "pretty" room I'm trying to create. And shhhhh...I don't keep patterns in it. I know! I'm such a rebel. I've got my cross stitch stuff in it.


And here it is after! This was actually all I had of this black and white pattern. I was happy to find the perfect use for it. The teal is the same as the top of the other box.
  

I feel the need to re-use things when I can. I have had this sewing box since...oh...middle school...I won't tell you when that was ;) and it's served me well, but it looks kinda dated, dontcha think?


Not any more! The ribbon before, it was wrapped in cardboard. I didn't actually figure that out, until I went to take it off. I just used the scissors and cut the open spaces, and pulled them out one by one. Re-weaving it was a bit more of a challenge to get the new fabric in. I first sewed the scrap pieces together (we're doing this on a budget, remember?) to the approximate length I needed. Then I folded the edges over, and sewed them into place, and made the ribbon the size I needed. I was looking for a safety pin to try to use that as a needle to help me weave the ribbon through. I decided I would use a piece of tape on the end instead. The safety pin would have been too big to pull through the corners. The tape gave a nice stiff surface to get the end through, then I just pulled the rest of the ribbon.


In these pictures below, you can see how I pieced the fabric scraps together to make the top. I sort of wanted a quilted feel, and really, not many people are going to see the top...we'll...in person. All my adoring blog fans are seeing it now, aren't they? :/   :) In the picture above you can see the tacks that keep the trim on? I gently pulled them off, and tucked the fabric in before I tapped them back into place.


All of that for this final reveal! And crap!! The picture isn't in focus. You get the idea.  I think it's a lot more pleasing to the eye, then having my crochet stuff (That's what that entire shelf is dedicated to. Maybe I'll do a  future blog on how I have my crafts organized by type.)


So, what do you think?

Thursday, July 4, 2013

Thrift Store Finds for the Craft Room

Before the room got painted (I should have posted this entry first), I did a run to my favorite thrift store. They call it a thrift store, but their prices are kinda ridiculous when you think their entire stock is made up of donations. That being said, they give a 25% off discount on Mondays, so that's the only day I go.

It was quite a good day for me to go. I have to find the receipt, but I think I have $80 from this little excursion to add to the $400 budget. But, it was worth it. I got a short black bookcase; a small metal dresser (?) that is the perfect height to set my drafting board on so I can use it as my work surface; a bunch of frames which will be painted black (or white); and some shelves.


That little dresser is pretty fricken hideous, dontcha think? I do! But, it's going to get some special treatment to make it pretty. I think I might work on it tomorrow actually. Today was a sewing day. I think tomorrow will be a painting day.

And God said "Let there be color". Craft Room Update #1

I actually painted the room, and got started on some projects, shortly after my last post, and then got tired (like I am now. This is going to be a short post).

I picked a pretty shade of Teal, that I'm calling "Tiffany Blue". It's pretty close, don'tcha think?

The paint needed to be stirred before I could slap it up on the walls. I thought it looked like tie-dye. Hehe.


I hate cutting in. :(

 So it's totally surprising I do a crappy job of it, isn't it? Heh. Good thing it's behind the closet door.
 

Oh thank goodness! Finally, some actual painting!


I think it's a good start. What do you think?